Get Started with SVFI
SVFI Quick Start Guide
Tips
The following is a basic tutorial on using SVFI to interpolate frames for a video.
The same applies for interpolating frames for image sequences. Just replace the input video with a folder containing the image sequences, and specify the input frame rate of the image sequences in the "Basic Settings".
Welcome to use the Squirrel Video Frame Interpolation software. This software is dedicated to turning jerky low frame rate videos into smooth high frame rate videos.
Whether you have any previous experience with frame interpolation, please believe that if you follow the following process, you will have a pleasant frame interpolation experience.
- Confirm that your graphics card meets the minimum requirements of this software: GTX 750Ti or above, and NVIDIA graphics cards with the Maxwell architecture or above. If you do not meet this requirement, please refund in time and use other frame interpolation software.
- Find SVFI in the Steam content library page
- Start SVFI
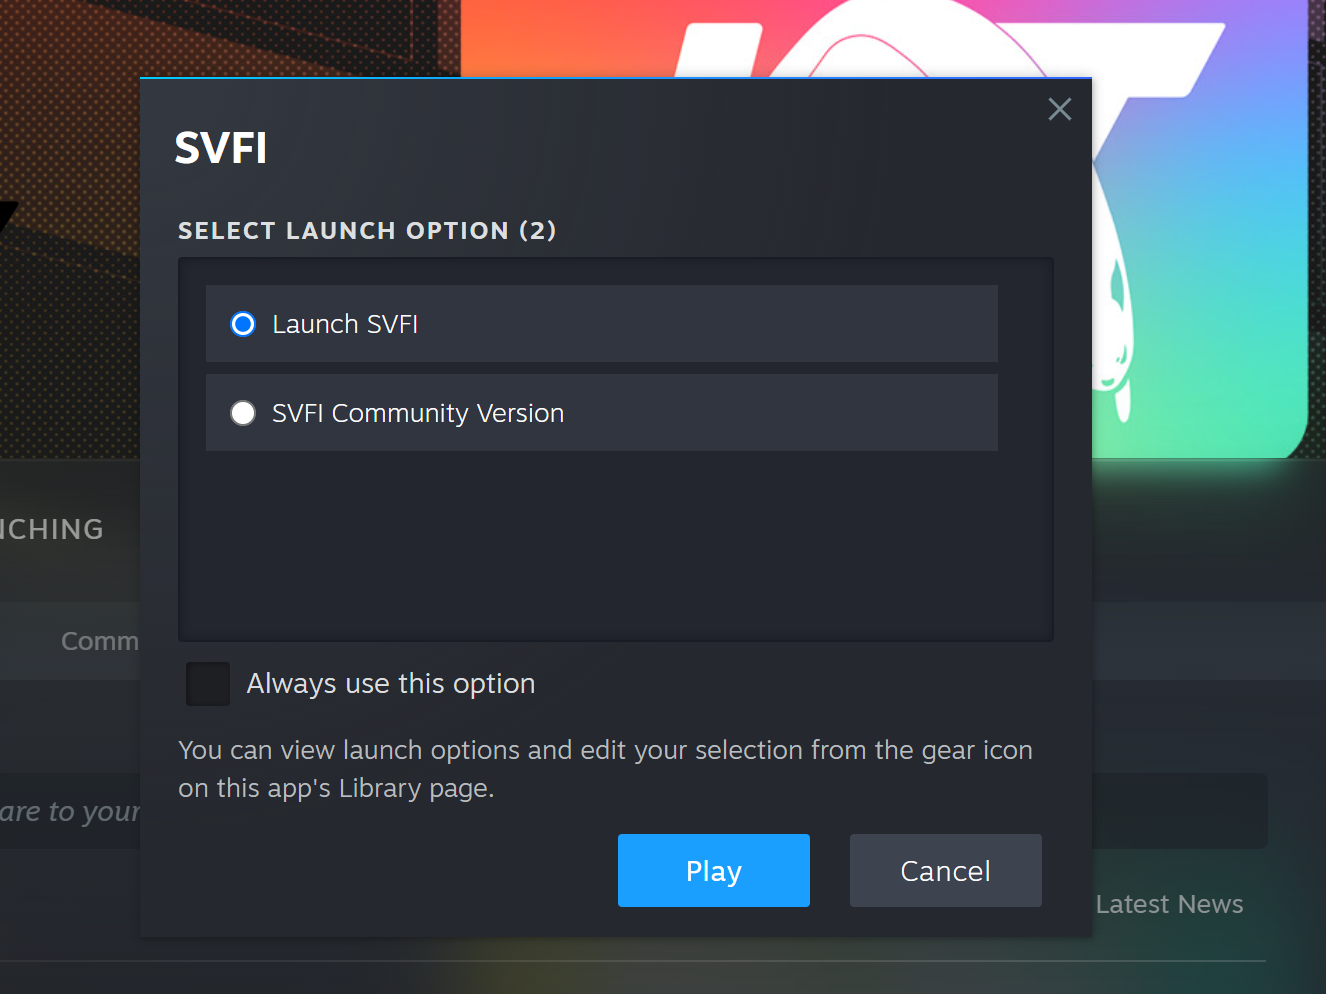
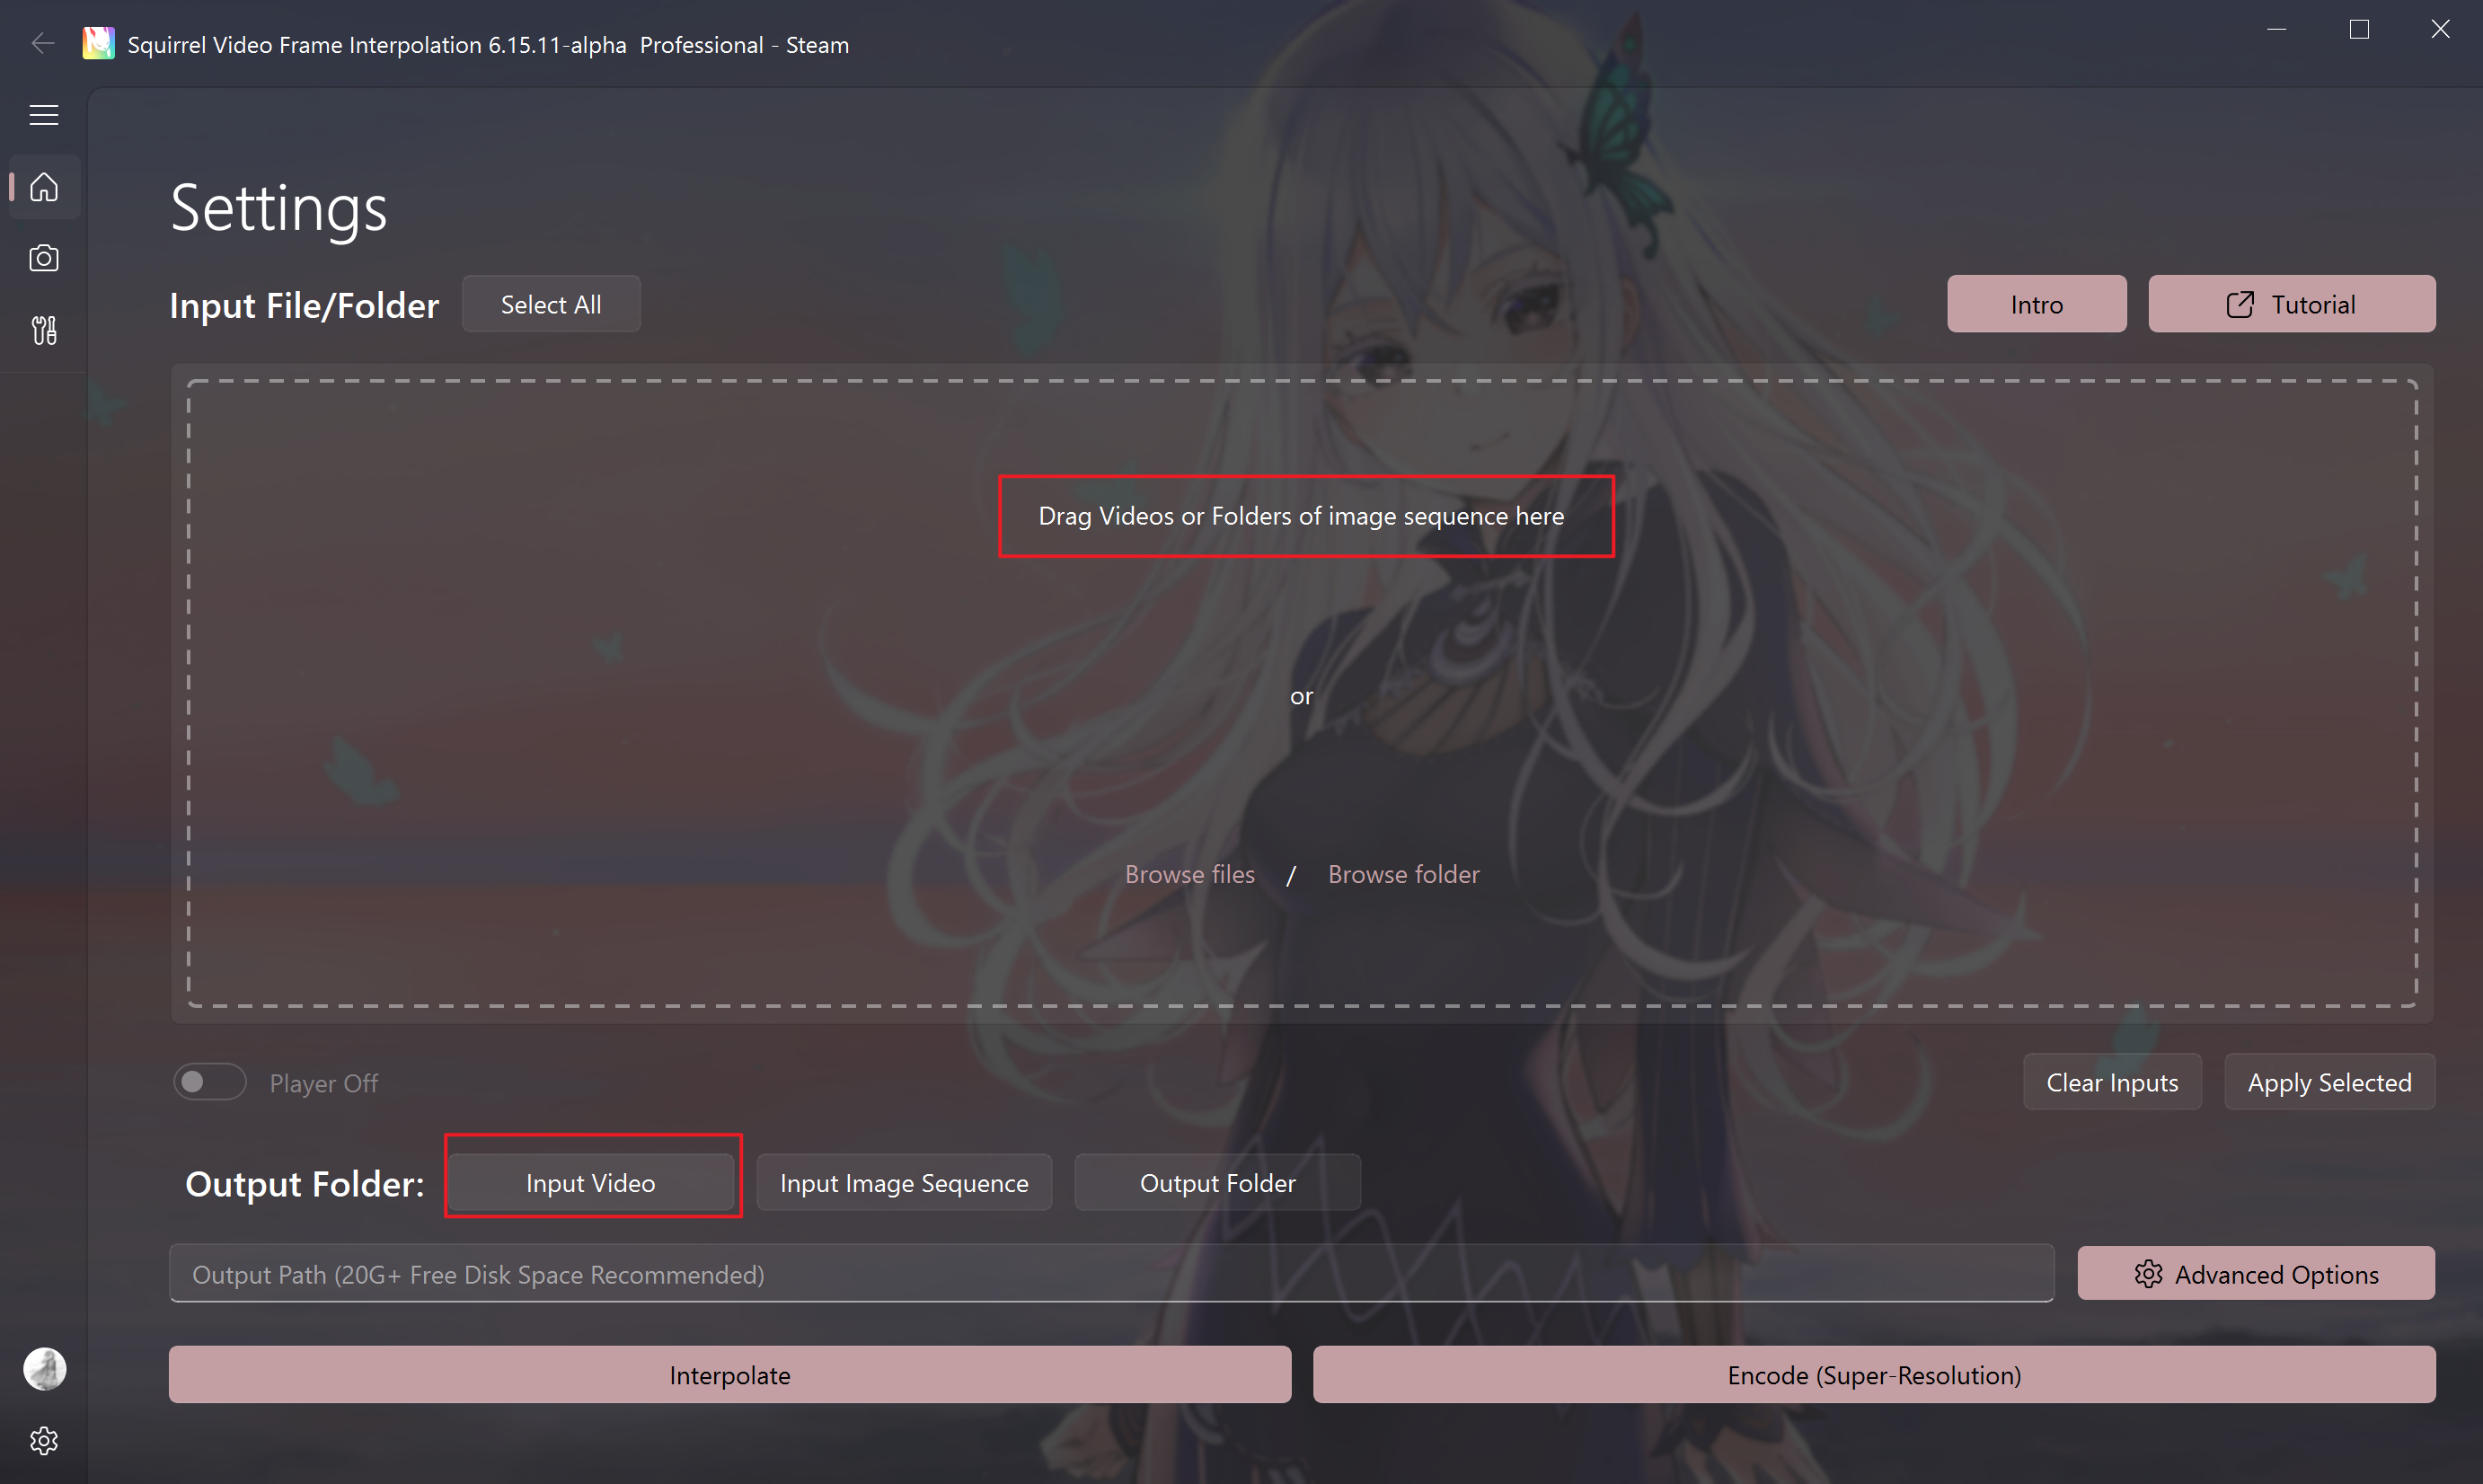
- Wait for the software to start, and you will see the following blank operation page. This is the main interface of SVFI. Please note that this tutorial applies to SVFI 6.x and later, and the software version number you see may differ from the screenshots.
- To interpolate frames for a video, you first need to select the option ❶ "Input video file" below, and select the video to be processed in the popped up file selection window.
- You can also "drag" the video directly into the window ❷.
Warning
SVFI only supports 8bit RGB image sequence input, and neither image sequences nor videos support transparent channel processing
After inputting a video, we need to make some basic settings.
The first thing: select the location of the interpolated frame video from the option ❶ "Set output folder", that is, the output folder. If not specified, the output video of the interpolated frame will be in the folder where the input video is located.
Set the option ❷ "Output file format" to determine the format of the interpolated frame video as
.mp4,.mkvor.mov. The.mp4file has better compatibility,.mkvsupports more types of audio, and.movis less used, generally for Apple ecological editing. Please try to keep consistent with the input video. If the format of the input video is not in the above three, use mkv.You will find that the frame rate of the input video is already displayed on the left side of option ❸. You can directly select the frame rate ratio for frame interpolation in option ❸ "Interpolate ratio", or manually fill in the frame rate in ❹ "Output FPS". You can enter any value, for example 60 or 120; SVFI will handle everything for you.
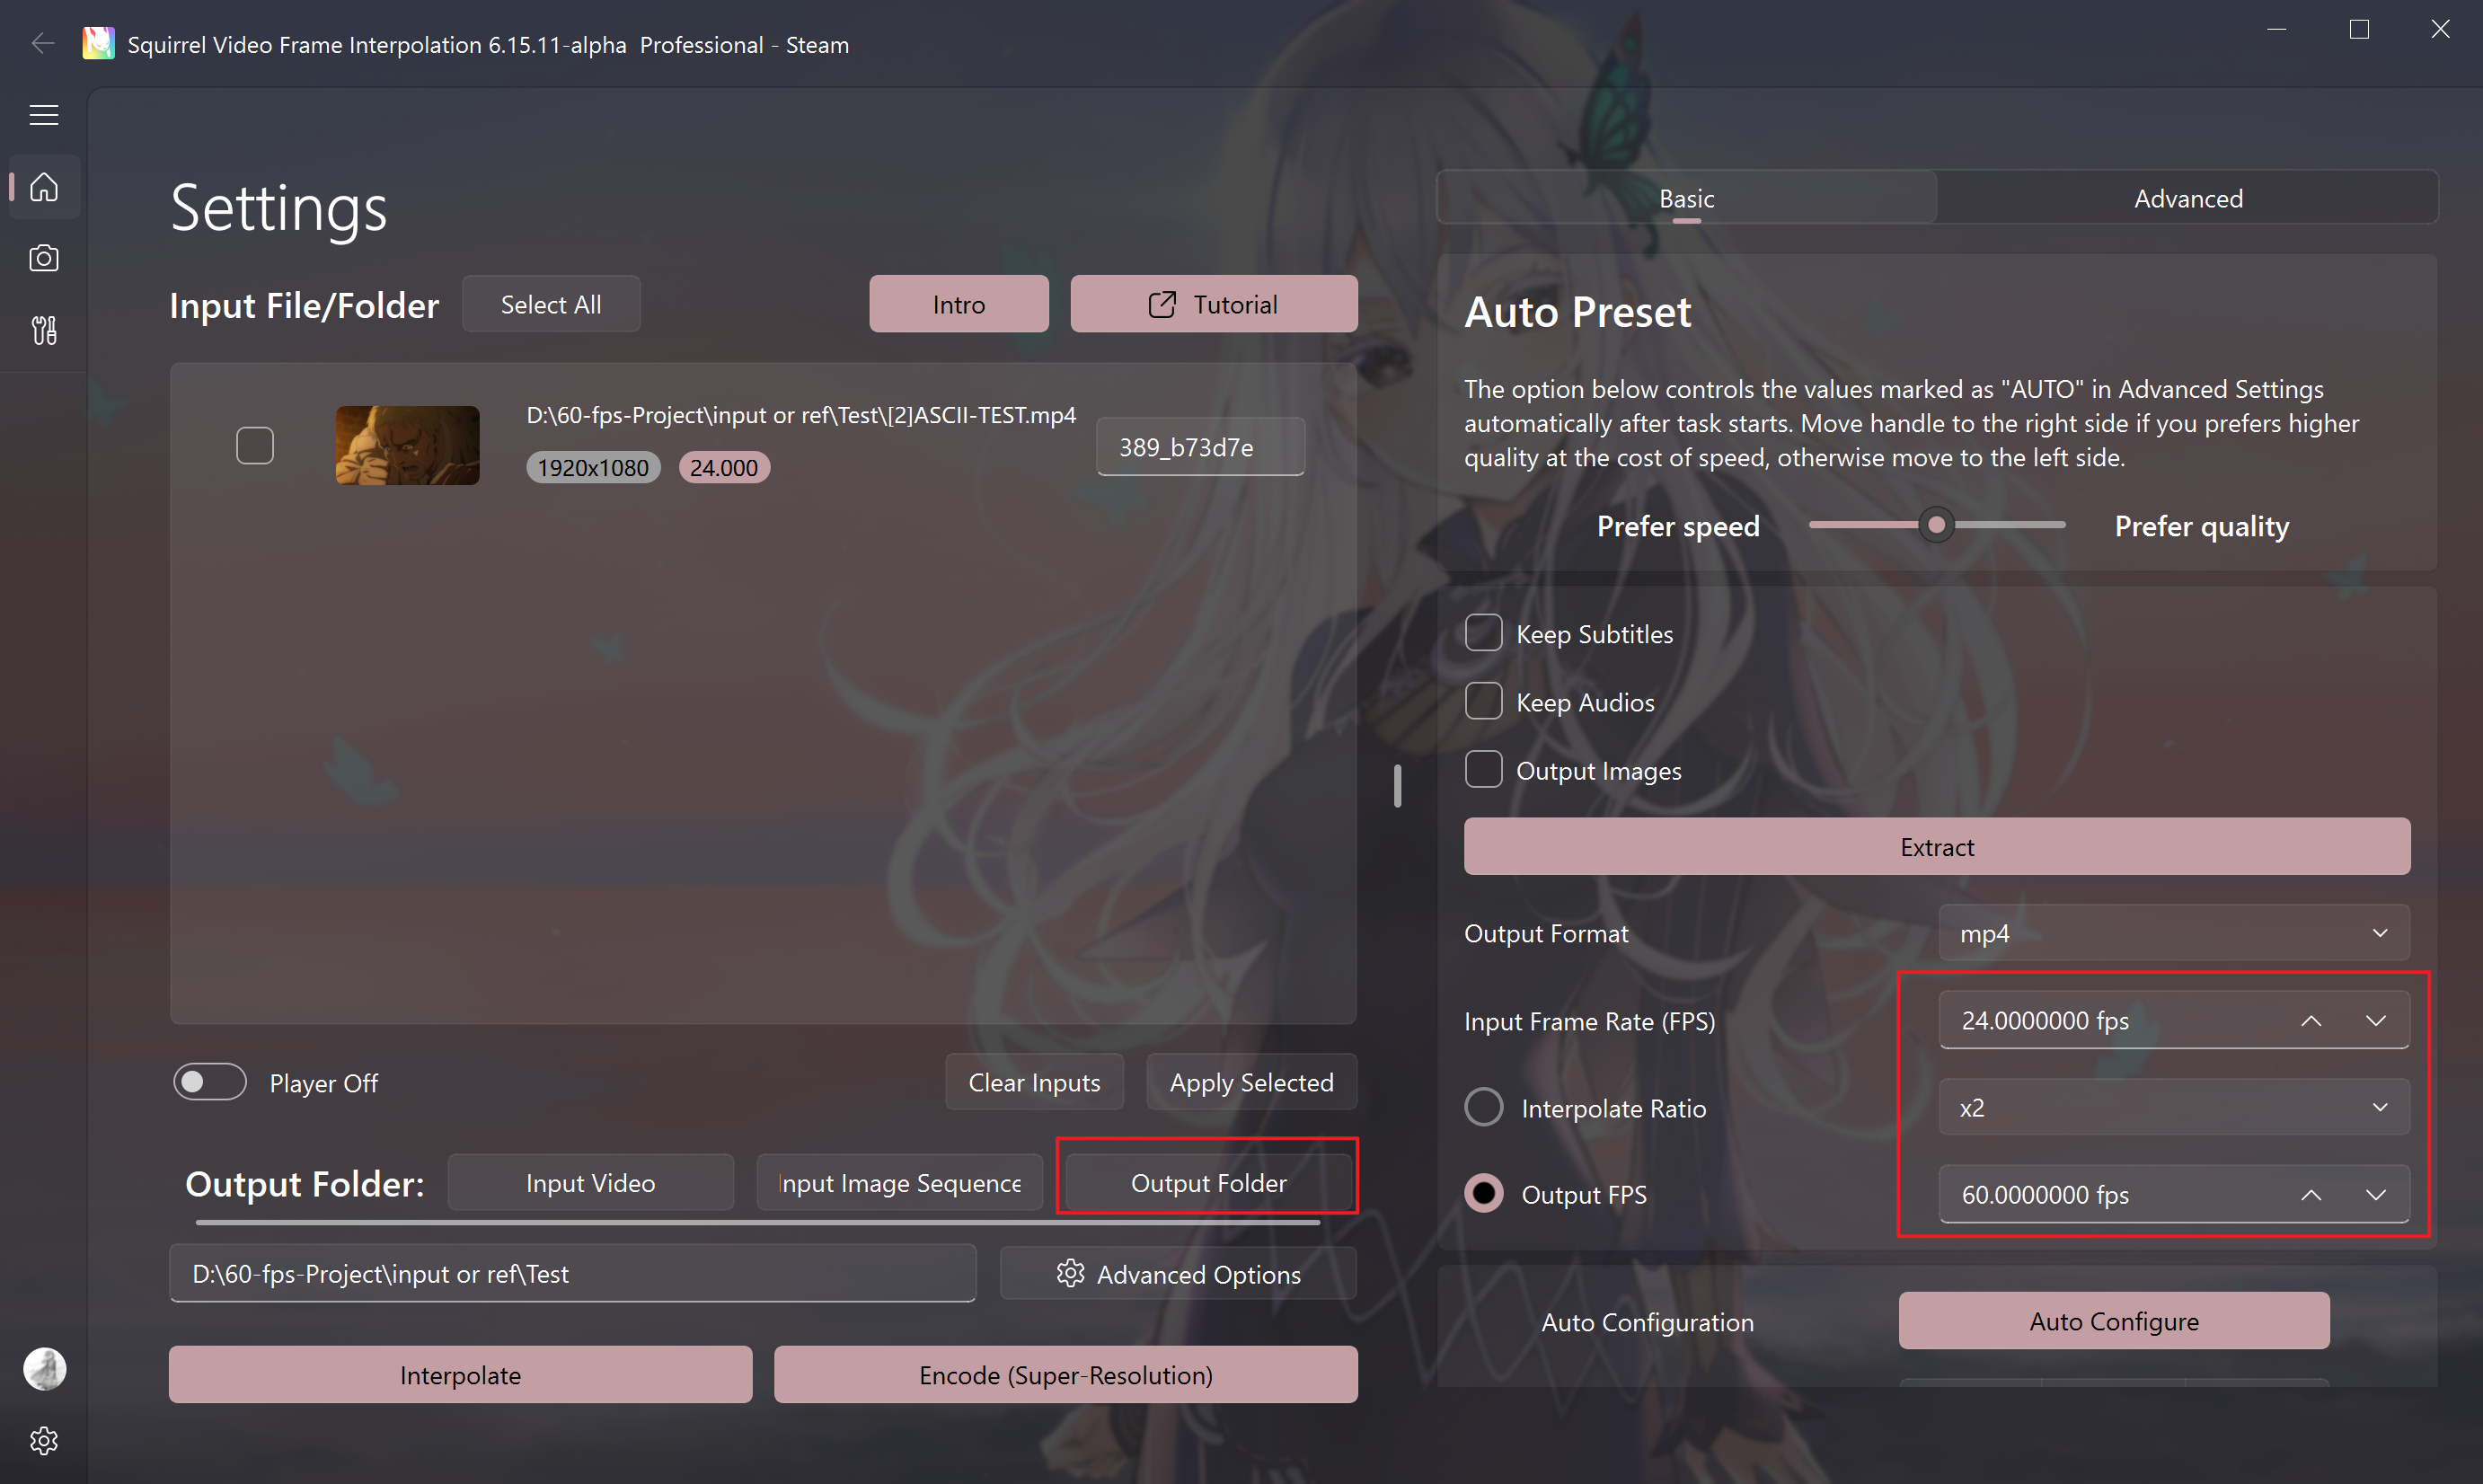
- Congratulations, you have completed all the necessary settings. Now click ❺ Interpolate and you can go make a cup of coffee and wait for the output result in the output folder.
- Before clicking ❺ Interpolate, in order to prevent errors, please close any other software that may occupy the graphic card memory.
- If the software unfortunately encounters an error, or you do not see the output video you expect in the output folder, please go to the FAQ for possible solutions;
- If the solution to your issue is not listed on this page, please post on the Steam discussions or use the in-app mutual-help forum to reach the developers.